Found this tutorial via Pinterest:
http://www.livingwithpunks.com/2010/05/tutorial-land-of-nod-inspired-floor.html
And here is my finished product:
The piping really is not very hard to work with, and considering I am a TOTAL rooky at sewing...that is really saying something! It's a really good tutorial. I skipped the handle. The kids love 'em and they go great in the pink and green polka dot room!
Showing posts with label DIY. Show all posts
Friday, April 19, 2013
Wednesday, October 31, 2012
Despicable Me Minion
I love family themed costumes. This Halloween, we all went as Despicable Me characters. Now, you can't have a Despicable Me theme...without...a MINION!
Then, I found some unused denim scraps:
Cut up the center for some legs:
Toilet paper rolls stuck in little black shoes:
If I had more time, I would have made a cute little pocket for the little guys overalls, but I ran out of time. I just hot glued the pants to the microfiber rag.
Took a Mason Jar lid for the one eye:
Pretty low key minion, but maybe it will help spark an idea for you, who knows?
Curtains
We are FINALLY getting around to mounting our curtains! Now that summer is over and the curtains will just be open all of the time. Nice!
In the Master Bedroom, I found the brackets and rod at Ikea and ordered the sheer curtains through Groupon. They are Maytex sheer curtains and I got the pair for about $19 (counting shipping).
In the family room and the dining room, we bought 10 foot full round rods from Home Depot, raw wood brackets and round finials from Hobby Lobby, and used some wood stain from an old project. I sanded the wood down, used some wood conditioner (and I actually tested it: using the conditioner first DOES make a difference!), then put two coats of the stain on everything.
In the Master Bedroom, I found the brackets and rod at Ikea and ordered the sheer curtains through Groupon. They are Maytex sheer curtains and I got the pair for about $19 (counting shipping).
I found the finials at Hobby Lobby for something like $8 for the pair.
In the family room and the dining room, we bought 10 foot full round rods from Home Depot, raw wood brackets and round finials from Hobby Lobby, and used some wood stain from an old project. I sanded the wood down, used some wood conditioner (and I actually tested it: using the conditioner first DOES make a difference!), then put two coats of the stain on everything.
The curtains are $10 for a pair at Ikea.
Wednesday, August 15, 2012
Retaining Wall
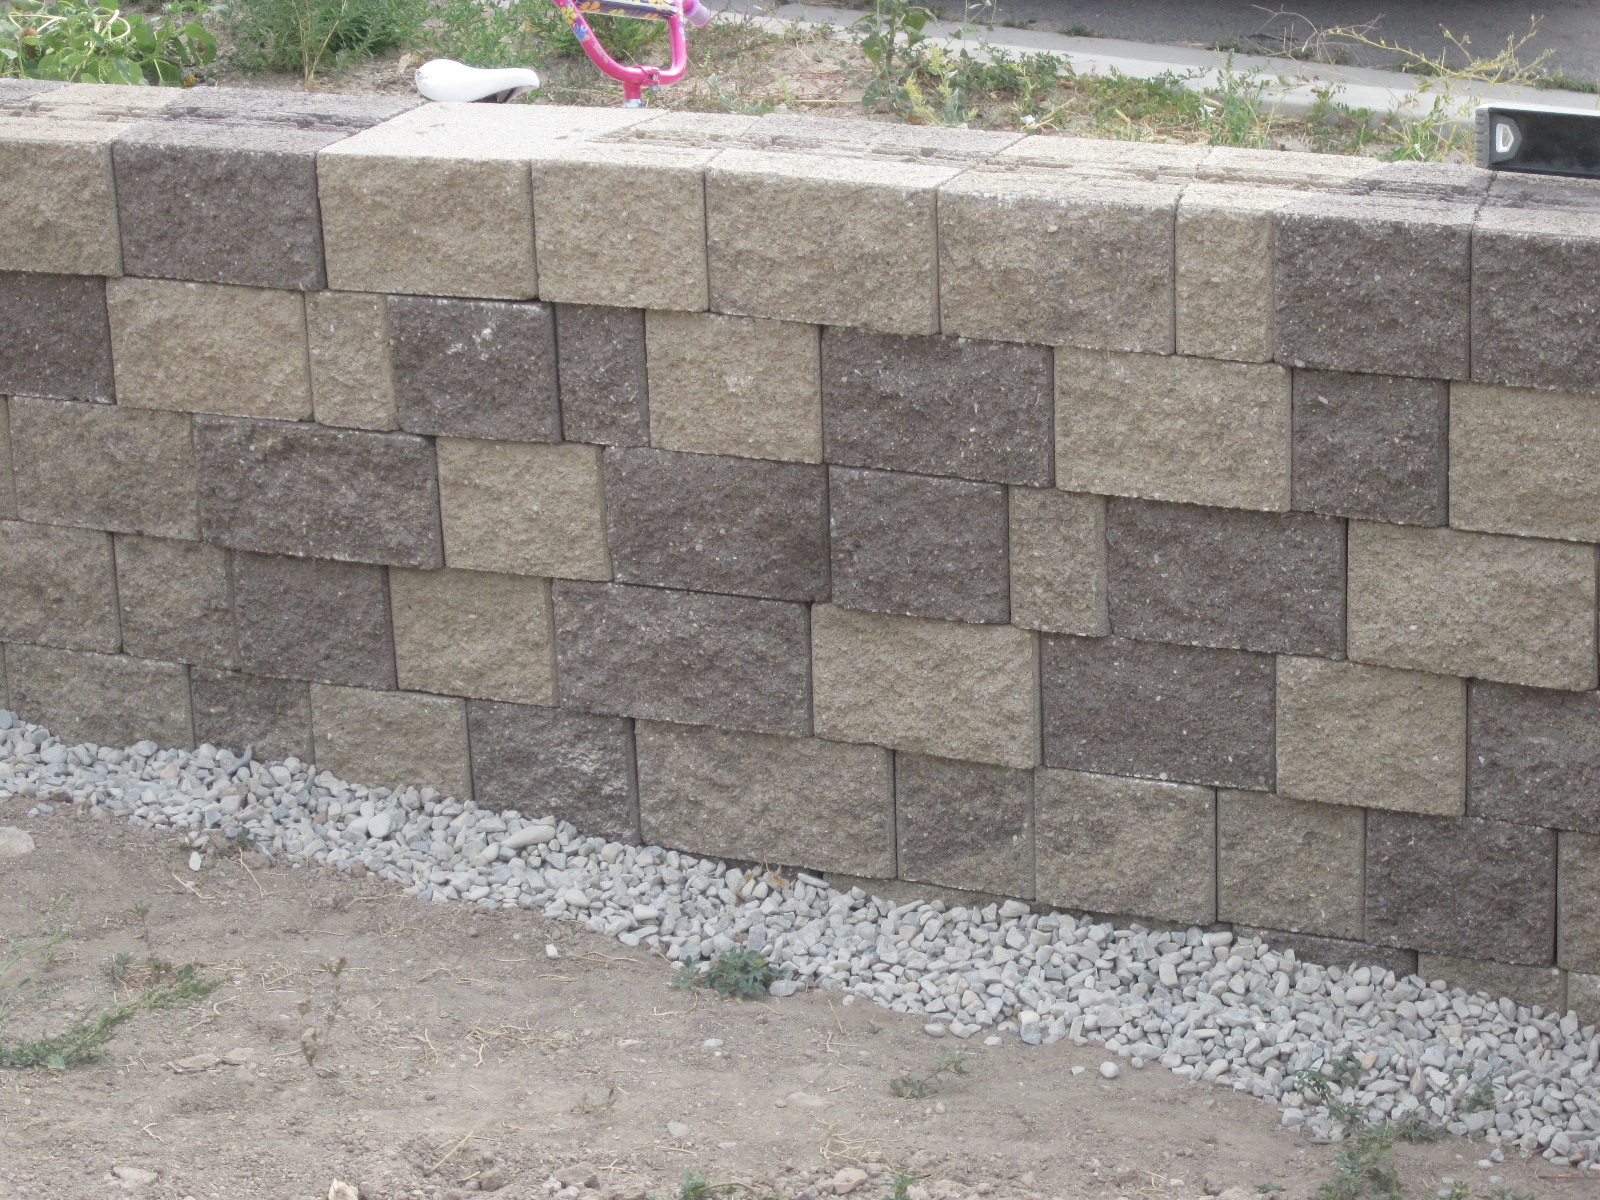
First, we staked out where we wanted the wall to go. 1) for measuring purposes, 2) to make sure we kept working in a straight line. Also, We put the string at the height that we wanted the wall. When figuring out how many blocks you need, you will need to know both the length and the height of the wall.
Next, we dug the trenches. Take extra care to make sure that the bottom of the trench is level. We have super hard dirt, so we had to use a pick ax to dig.
Use the tamper to level out the gravel, then use a landscaping level to make sure that it really is level.
The trench should be dug deep enough that the block is buried a couple inches below the ground level, even though it is laid on top of a couple inches of gravel.
We started at the low point in our yard, then, when we got to the point that the blocks were totally buried by the ground level, then we would step it up.
Can you see how the top of the block on the left is right at ground level? Then right next to it, is the bottom layer of gravel?
When you step the digging up a level, be sure that you still dig deep enough so that the top of the gravel layer is level with the top of the block next to it.
We re-staked at ground level, so that we could be sure we were going in a straight line:
Be sure to check how level you are at all stages of this project:
We ended up putting a couple of sets of stairs in, too. One wide long set leading to our front door:
And one small, tight set on the side of the house:
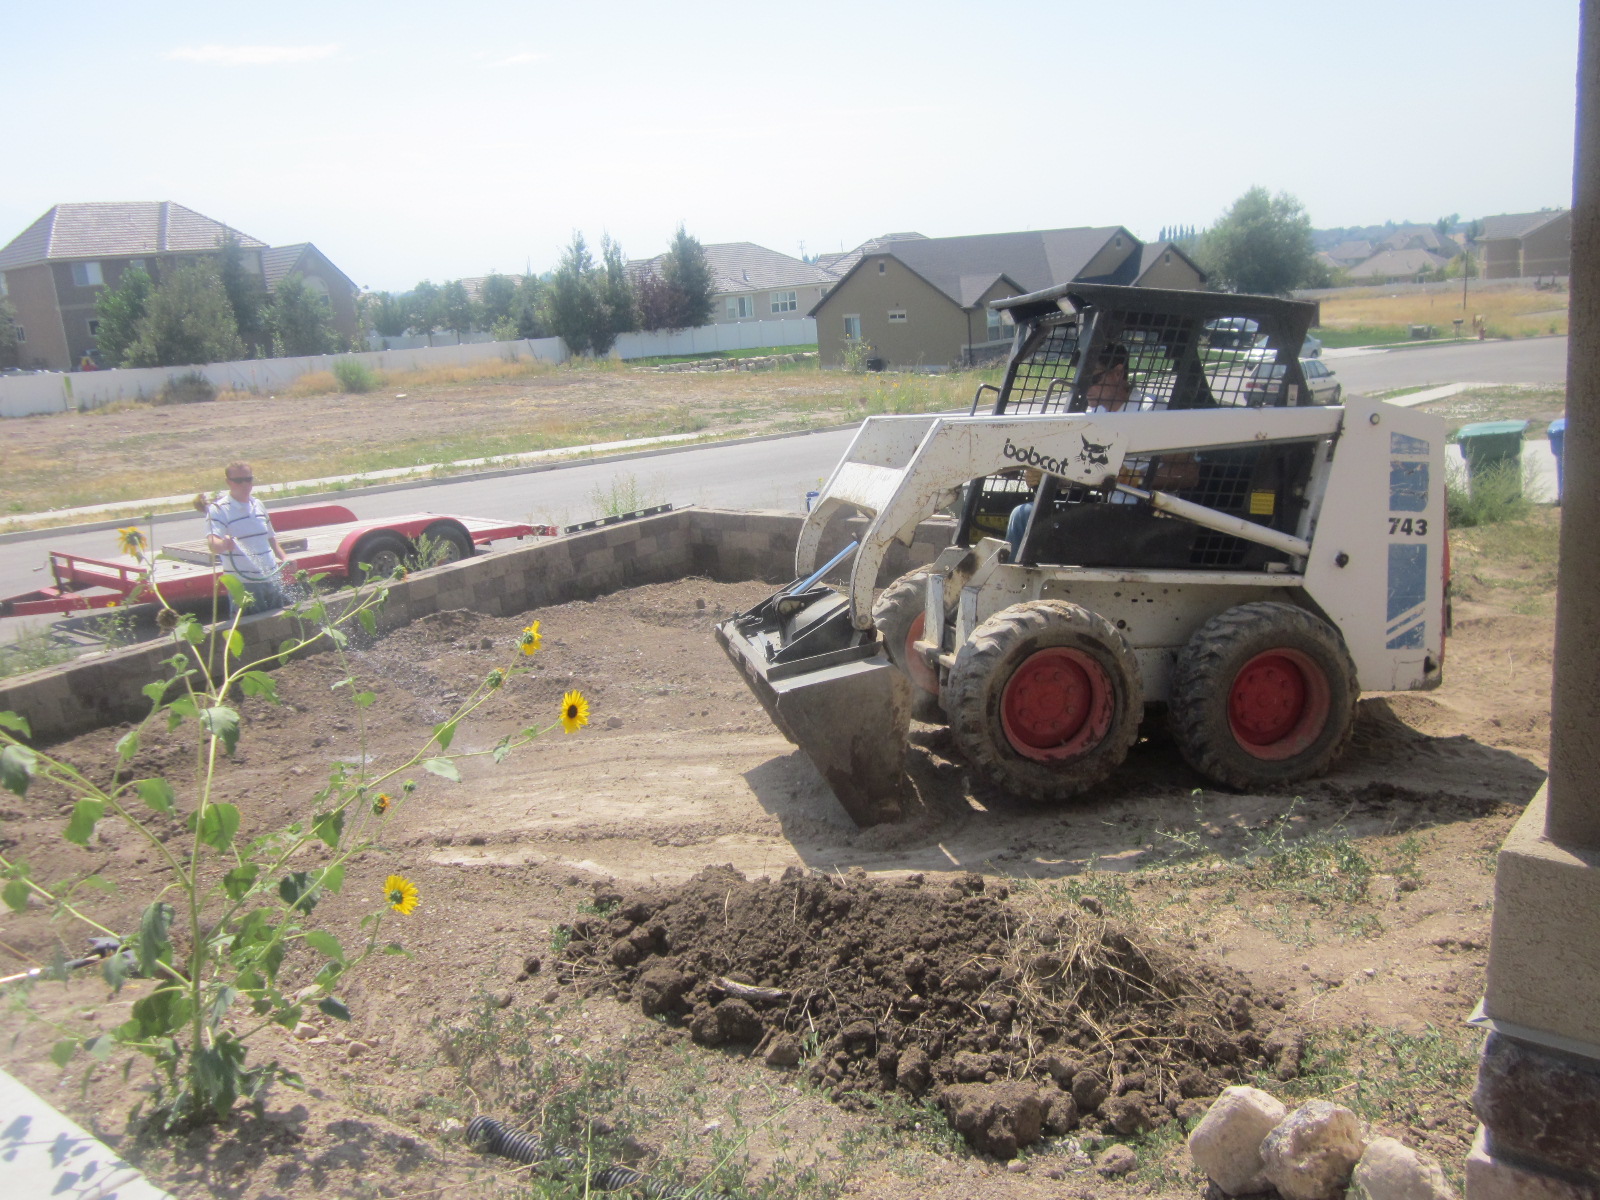
Once the wall was (almost) all done, we used a Bobcat to haul dirt in and fill it up. We did leave a small portion of the wall undone, so that there was somewhere for the Bobcat to drive in and out of:
My Father In Law drove the Bobcat while my hubs sprayed the dirt all down with a hose. The water helps the dirt to pack down a little better, so that -hopefully- there is not as much "settling" later on, when we have a lawn there.
Also, you want to be sure to fill in the sides of the trench with plenty of gravel, or other drainage material, before covering it up with dirt. Talk to the people you buy the materials from, they should have tips for you on building this kind of a thing!
Friday, July 27, 2012
Jean Stockings
It's Christmas in July! My husband keeps asking me why I am working on a stocking in July. I tell you what, though, the last thing I want to be stressed about during the Holidays is finishing a stocking on time! I am getting this project out of the way!
Step 1) Get some newspaper or whatever else you want and draw/cut out an outline of how you want your stocking to look (size, shape). Be sure to include an extra 1/2 in or so for the seam.
~~I already have some, so I turned one inside out and used it for my "pattern."

You can do all sorts of combinations. have a heel and a toe, no heel, no toe. WHATEVER YOU WANT! ENJOY AND MAKE IT YOURS!
Step 1) Get some newspaper or whatever else you want and draw/cut out an outline of how you want your stocking to look (size, shape). Be sure to include an extra 1/2 in or so for the seam.
~~I already have some, so I turned one inside out and used it for my "pattern."
Step 2) Lay your "pattern" over some old jeans and cut two of them from the jeans. Be sure that one is facing one direction and the other is facing the other direction...does that make sense? Remember that when you finish your stocking, you will have two MIRROR images laying on top of each other, NOT identical images. So, for this whole project, just think through everything carefully and lay things out how they will be in the end so that you make sure to cut/sew in the correct spots.
~~See how one is inside up and the other is outside up? Mirror images.
Step 3) Pick fabrics that you want on tops/heels/toes of your stocking. Pin it how far down you want it, making sure it looks how you want it to look in the end.
Step 4) Turn the stocking over and pin the fabric into the inside of your your stocking. You want it to fold over and inch or so, so that it is well inside the opening of your stocking.
Then lay the other side on top, and do the same, making sure that the lines of fabric match. So that, on the finished product, you have a continuous circle. You want the heels and toes, etc to match up on the back and front halves. Pin accordingly.
Turn over and pin it into the inside again.
Step 5) Go back to the outside of your stocking, and UNPIN THE TOP FABRIC!
PULL THE FABRIC UP, SO IT IS OUT OF THE WAY WHEN YOU SEW THE INSIDE SEAM AND YOU DON'T END UP WITH A RANDOM SEAM IN THE MIDDLE OF YOUR PRETTY STOCKING TOP!
Step 6) Sew the inside seam of your top fabric.
Step 7) Go back and repin the outside of your top fabric, then sew it on.
Step 8) Pin your heel/toe fabrics where you want them/how you want them to look in the end. Again, make sure that your front and back halves match up.
Use your first heel/toe piece as the "pattern" for your second. Again, remember that you want a MIRROR image, NOT an identical image, so turn the fabric over and cut it out inside out for the second one.
Step 9) Sew on your heel/toe pieces.
Step 10) Once all the heel, toe and top pieces are sewed on, you can cut out letters to spell the owners name, or "Christmas," or "joy," or whatever else you want...or leave it blank! Sew letters on.
Step 11) Lay the top half of your stocking on top of your back half, so that your stocking is INSIDE OUT. Also, make sure that the top/heel/and toe pieces line up correctly. Pin all sides (EXCEPT THE TOP) together and sew. This is just like sewing a pillow case. You sew it all up, except one side, then flip in right-side out again! Voila!
You can do all sorts of combinations. have a heel and a toe, no heel, no toe. WHATEVER YOU WANT! ENJOY AND MAKE IT YOURS!
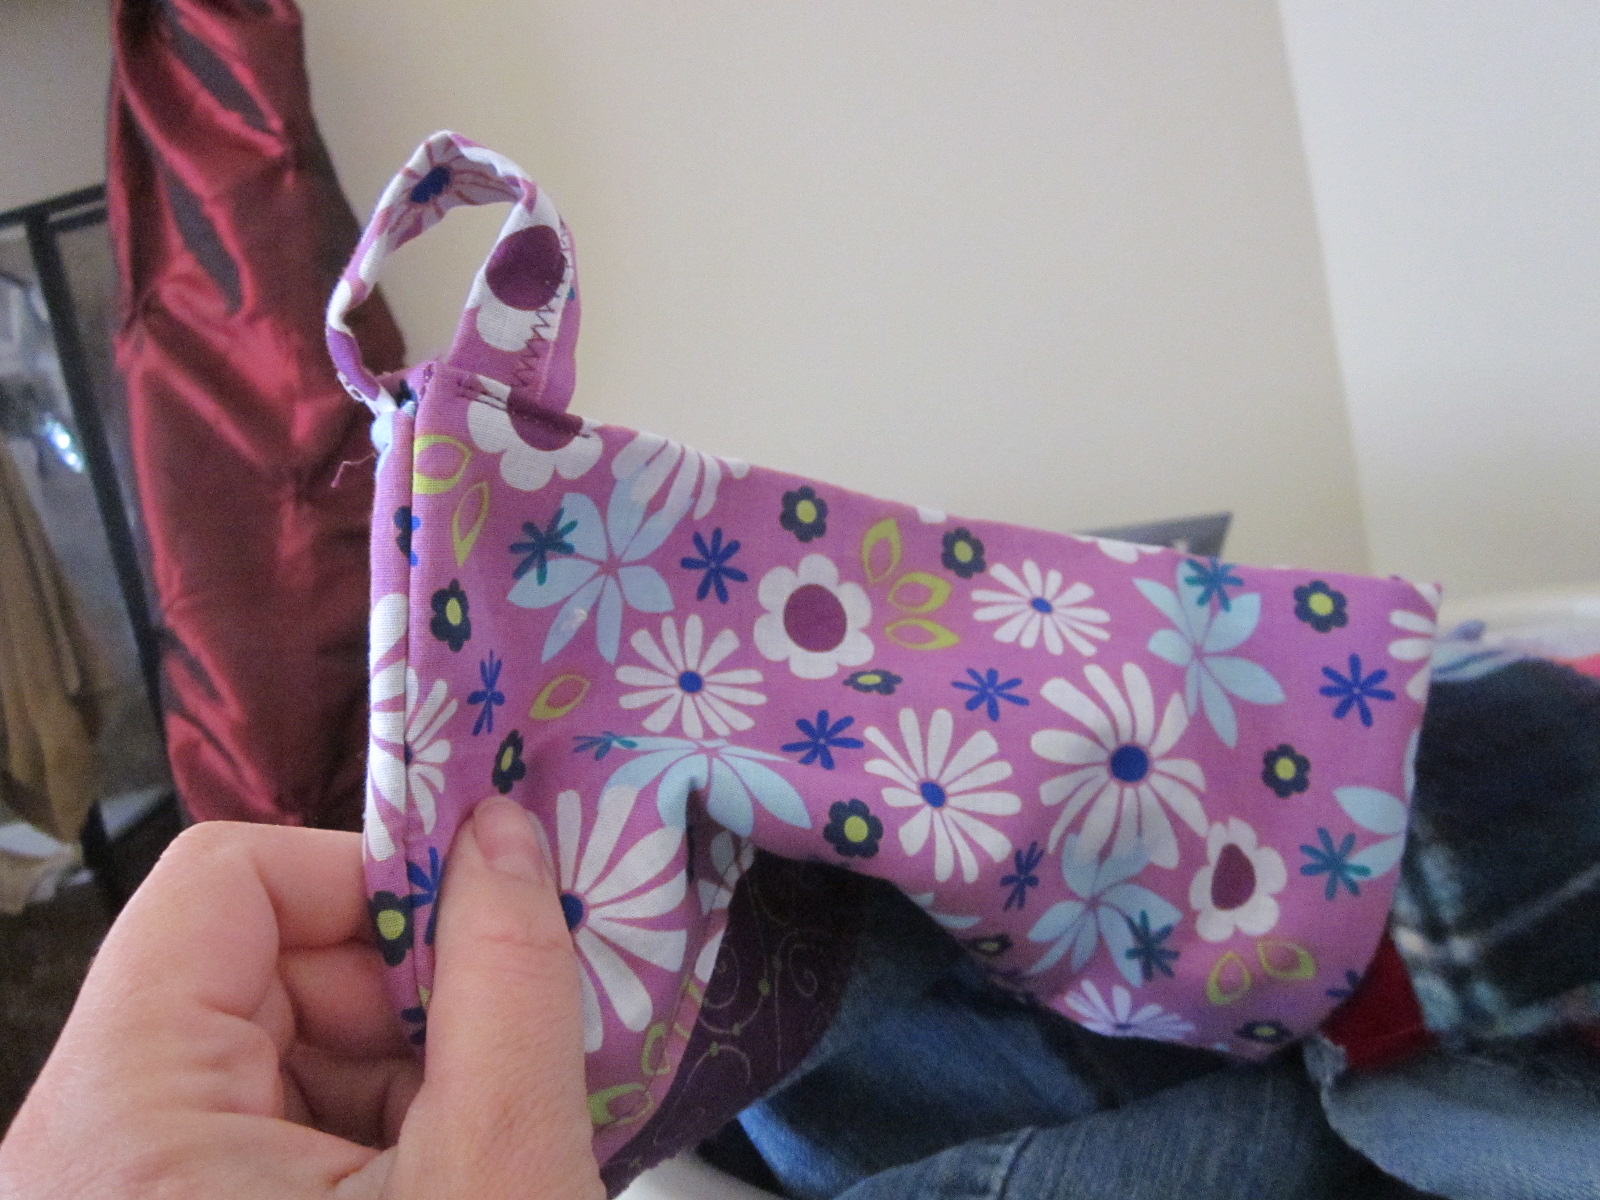
OH, YEAH! STEP 12) A HOOK! Just take a piece of fabric that matches, sew it to be a straight line, then sew it on to the back of your stocking! Fleece does not work great as it stretches:
This super soft, bumpy fabric is hard to deal with, sometimes.
But this is a great hook:
Subscribe to:
Posts (Atom)