Friday, July 27, 2012

Jean Stockings

It's Christmas in July! My husband keeps asking me why I am working on a stocking in July. I tell you what, though, the last thing I want to be stressed about during the Holidays is finishing a stocking on time! I am getting this project out of the way!

Step 1) Get some newspaper or whatever else you want and draw/cut out an outline of how you want your stocking to look (size, shape). Be sure to include an extra 1/2 in or so for the seam.
~~I already have some, so I turned one inside out and used it for my "pattern."


Step 2) Lay your "pattern" over some old jeans and cut two of them from the jeans. Be sure that one is facing one direction and the other is facing the other direction...does that make sense? Remember that when you finish your stocking, you will have two MIRROR images laying on top of each other, NOT identical images. So, for this whole project, just think through everything carefully and lay things out how they will be in the end so that you make sure to cut/sew in the correct spots.
~~See how one is inside up and the other is outside up? Mirror images.


Step 3) Pick fabrics that you want on tops/heels/toes of your stocking. Pin it how far down you want it, making sure it looks how you want it to look in the end.


Step 4) Turn the stocking over and pin the fabric into the inside of your your stocking. You want it to fold over and inch or so, so that it is well inside the opening of your stocking.

Then lay the other side on top, and do the same, making sure that the lines of fabric match. So that, on the finished product, you have a continuous circle. You want the heels and toes, etc to match up on the back and front halves. Pin accordingly.


Turn over and pin it into the inside again.

Step 5) Go back to the outside of your stocking, and UNPIN THE TOP FABRIC!


PULL THE FABRIC UP, SO IT IS OUT OF THE WAY WHEN YOU SEW THE INSIDE SEAM AND YOU DON'T END UP WITH A RANDOM SEAM IN THE MIDDLE OF YOUR PRETTY STOCKING TOP!


Step 6) Sew the inside seam of your top fabric.

Step 7) Go back and repin the outside of your top fabric, then sew it on.

Step 8) Pin your heel/toe fabrics where you want them/how you want them to look in the end. Again, make sure that your front and back halves match up.


Use your first heel/toe piece as the "pattern" for your second. Again, remember that you want a MIRROR image, NOT an identical image, so turn the fabric over and cut it out inside out for the second one.


Step 9) Sew on your heel/toe pieces.


Step 10) Once all the heel, toe and top pieces are sewed on, you can cut out letters to spell the owners name, or "Christmas," or "joy," or whatever else you want...or leave it blank! Sew letters on.


Step 11) Lay the top half of your stocking on top of your back half, so that your stocking is INSIDE OUT. Also, make sure that the top/heel/and toe pieces line up correctly. Pin all sides (EXCEPT THE TOP) together and sew. This is just like sewing a pillow case. You sew it all up, except one side, then flip in right-side out again! Voila!


You can do all sorts of combinations. have a heel and a toe, no heel, no toe. WHATEVER YOU WANT! ENJOY AND MAKE IT YOURS!


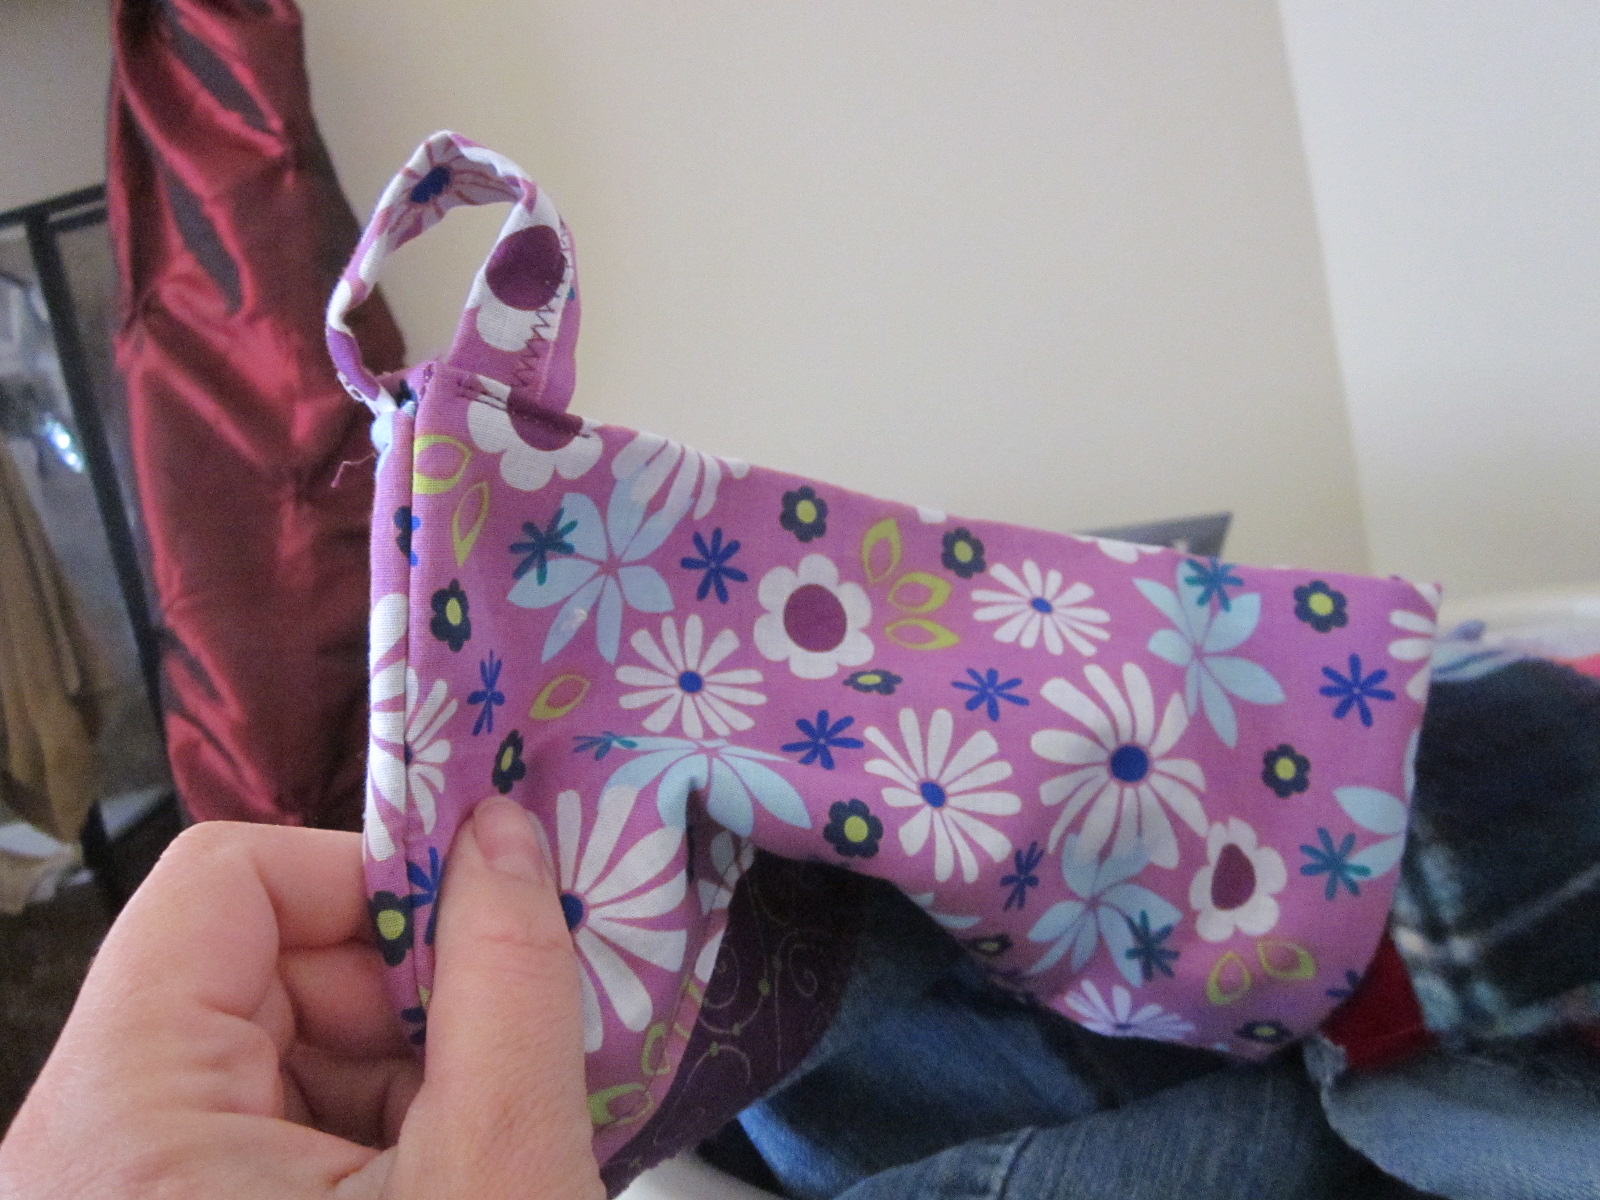
OH, YEAH! STEP 12) A HOOK! Just take a piece of fabric that matches, sew it to be a straight line, then sew it  on to the back of your stocking! Fleece does not work great as it stretches:


This super soft, bumpy fabric is hard to deal with, sometimes.


But this is a great hook:


Wednesday, July 25, 2012

Phineas and Ferb Birthday Party!

We, as a family, really just love Phineas and Ferb. But Lala is OBSESSED with them! She went through a phase, recently, where she insisted that she was Phineas (made me call her by that name and everything!) and she also had an imaginary friend named Ferb. Add the fact that she has a summer birthday, and...we clearly HAD to do a Phineas and Ferb party for her!
I commissioned my BIL to do some artwork for us, and it turned out GREAT! (check him out here!), and I had my sister take pics for me!


I found lots of great Phineas and Ferb ideas here.
Here's what I ended up doing:
As the kids arrived, we let them take pictures with Phineas and Ferb! (the idea was to then shoot them off to one-hour-photo at Costco and have them in their goody bags by the time they left, but it didn't happen. Oh, well.)
Then, we did some fun things from the Phineas and Ferb theme song, like:
Building a Rocket:


Fighting a Mummy:
I just wrapped Lala's Dad in TP and let the kids fight him. Be sure you have some sort of foam swords for them to fight with though...the kids will want a weapon for this.


Climbing up the Eiffel Tower:


Here is another spot where my BIL's great artwork came in handy! This activity was a HIT, by the way. They just kept climbing up and jumping off and they would have continued doing it all day, I think, had we let them!
Step stool + Pic of Eiffel Tower + Adult to hold hands with while jumping off = AWESOME!

Then we ended with some Pin-the-tail-on-the-platypus (from the above website), some presents, and some Perry Cupcakes (also from the above website).
It was so fun!

Cupcakes:
1. roll out some circus peanuts for Perry's tail:

2. make criss cross design with a butter knife
 3. rip off tiny pieces of some flattened circus peanuts and use frosting to stick them to mini blue airheads (circus peanuts are pretty sticky, so you could probably also must get the edge a little wet and stick them on that way, to avoid the white behind his bill). Also, use frosting to stick brown M&M's on for eyes:

4. insert 1 Perry and 1 tail into each cupcake. Enjoy!


Here are some of the signs that I made:


And this last one we found at Walmart.

Tuesday, July 24, 2012

Thank You Ikea!

We need curtains up in our family room. The windows are west facing, and some curtains would definitely help us save on cooling the house. So, I came across this neat lady's post on Pinterest. I was so excited! She said she got most of her supplies at Lowe's, so I ran out to Lowe's the next day! Sadly, I did not really find ANY thing at Lowe's! Well, not anything that would work for me. I need a 12' curtain rod, and I could only find an 8' wooden rod at Lowe's. So, when I got home, I hopped on the internet. I was able to find some brackets and finials at Hobby Lobby, and a canvas drop cloth at Walmart, but I could not find a 12' wooden pole, ANYWHERE!
So, I was at Ikea today and found a black metal rod for $6, brackets for $1.50 each and add on pieces (for the layered look) for $0.50 each! They also had a few ends to choose from, though I didn't really care for any of the ends that they had in stock. But I can now have a curtain rod for under $15! Nice.

Thursday, July 12, 2012

Rag Rug

I made a rag rug! I found it on pinterest, and I have ALWAYS wanted to make one, so I jumped at the chance! If you can do a basic crochet chain, you can ABSOLUTELY do this! It was so simple! And if you cannot crochet...learn the basic chain stitch from someone...or online...and then you can ABSOLUTELY do this!
The instructions can be found here. I used one set of queen sized sheets (that we getting worn and holey) and it turned out this size:

I bout some fabric dye and dyed half of the sheets. If I were to do it over, I would have used a LOT more dye! I did not realize how little fabric I would be able to dye with one package of dye. But I like how it turned out, anyway, so, I feel good about it!

Other than that...the instructions were not real clear about how often to add an extra stitch, but I just did one every time I felt like my holes were not lining up quite right, anymore, and it seemed to work fine.
Good luck!

Archway Curtains

We have an archway with no door between our master bedroom and our master bathroom. This works find for us, but -just in case, for some reason, if we want to close it off- we wanted to hang some curtains of some sort. But, we also didn't want to diminish the archiness. So, I hopped online and found this:

It is a clear, flexible curtain rod and comes with the hardware for mounting. All we had to do was saw it to the appropriate size, and mount! It was fantastic!


Next, we needed some curtains and some pull backs. The tie backs we bought at Lowes (we actually got 3 and are using one for a towel rod in the laundry room), and we also found this curtain there. We just bought one panel, then I cut it down the center and seamed it up, to make two panels! I am loving the finished product!